These six steps summarize the decision path we have refined with hundreds of B2B buyers. Working through them in order prevents almost all specification rework.
The Six Steps
1Start with the payload, not the case
Measure the equipment's length, width, height and weight, then allow 20–30 mm of cushioning space. Most specification errors come from picking a case first and measuring the gear afterwards, leaving no room for a proper foam layer.
2Define the environment class
Will the case be immersed, sun-exposed, salt-sprayed or cycled between -40 °C and +80 °C? The environment sets the sealing class (IP54/IP67/IP68), resin formulation and hardware alloy — a decision that cannot be corrected later.
3Choose the molding process
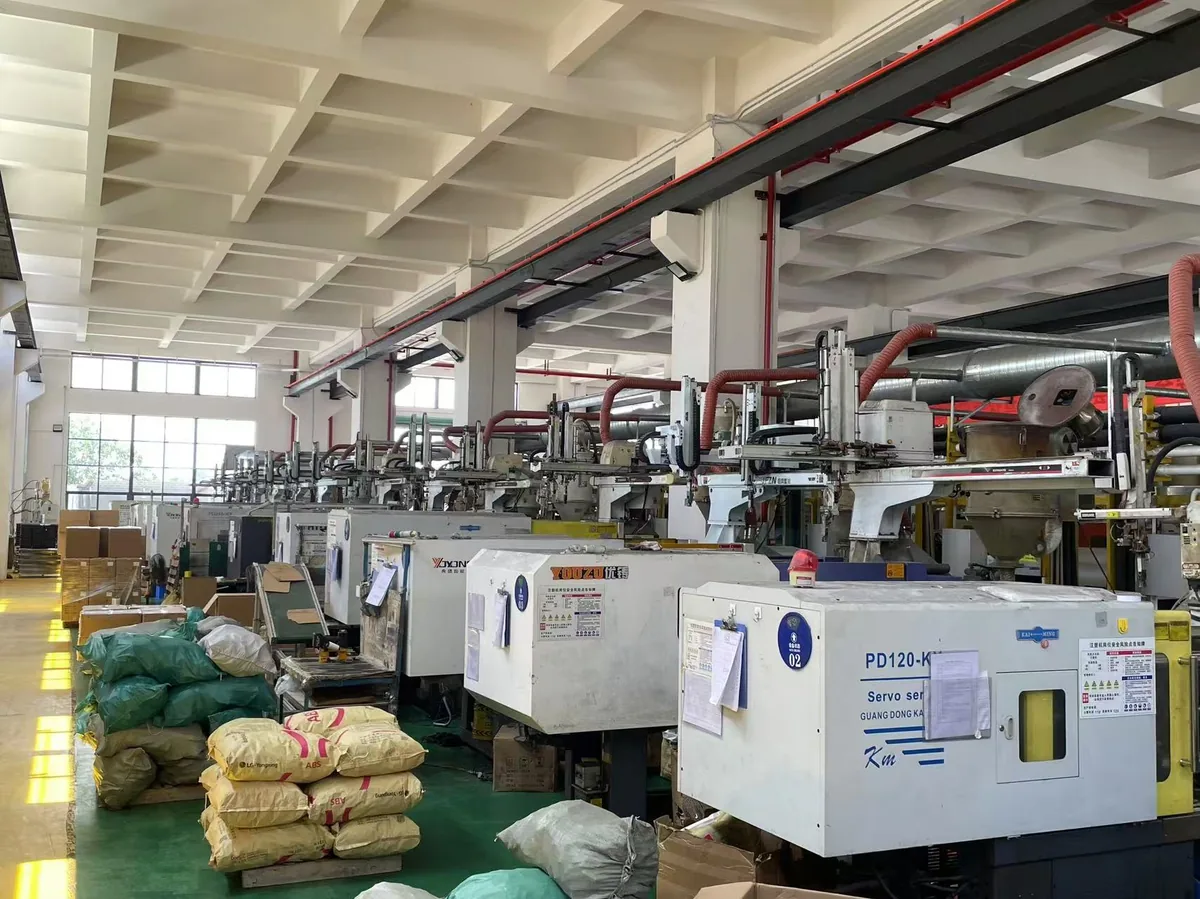
Under roughly 800 mm internal length, where finish and tolerance matter, choose injection molding. For large, heavy, stackable or double-wall insulated cases, choose rotational molding. Process determines wall thickness range, tooling cost and MOQ.
4Specify the interior
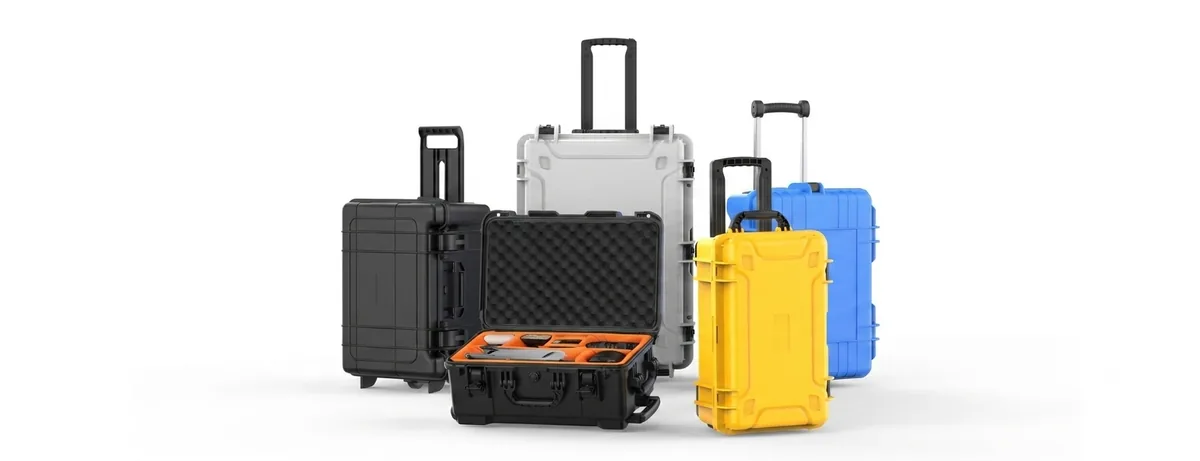
CNC-cut EVA for high-value precision equipment; pick-and-pluck foam where the kit changes often; vacuum-formed trays or dividers for volume circulation parts. Interiors can be 20–40% of total case cost, so match them to the actual protection need.
5Check hardware and accessories
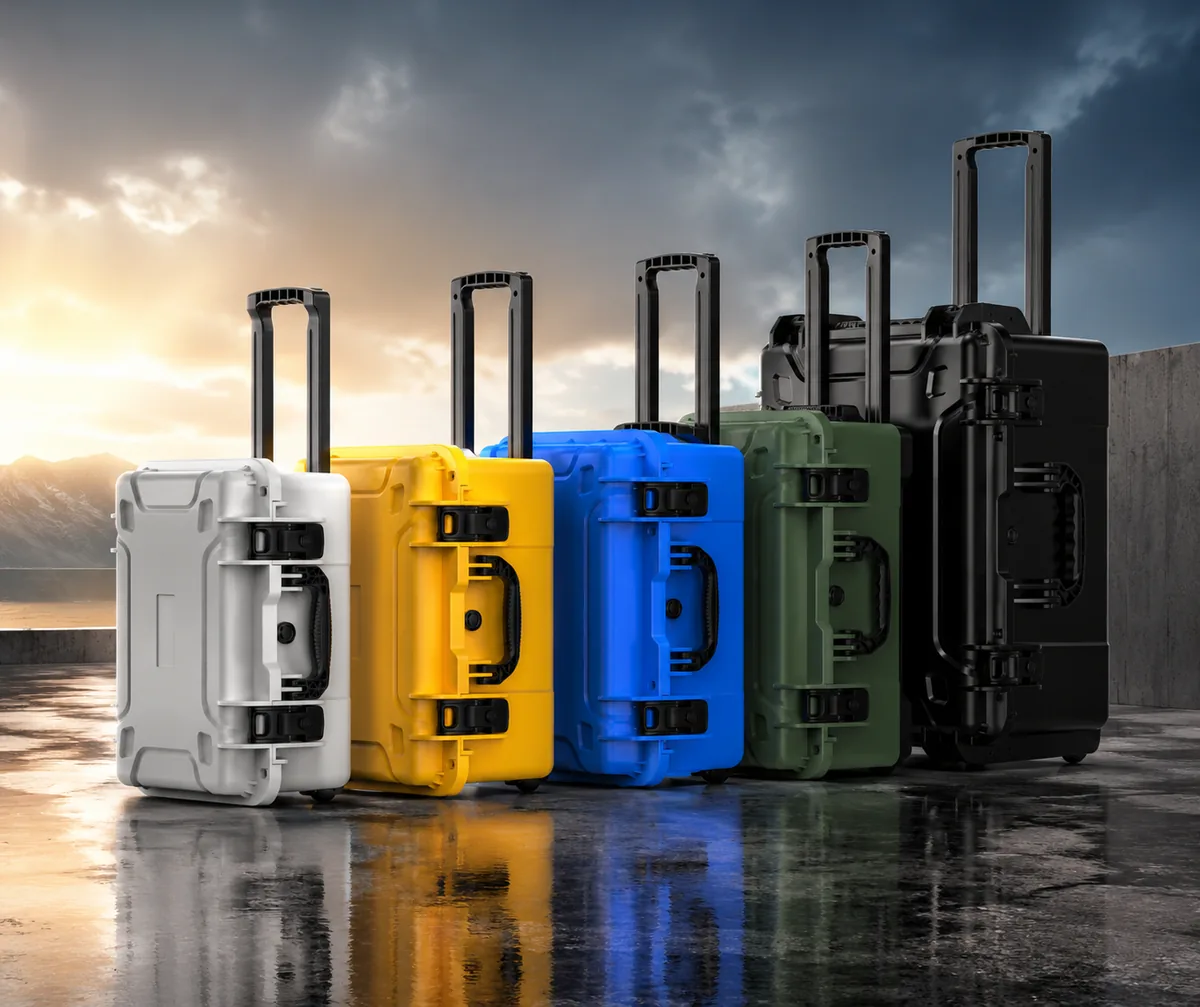
Do you need padlock hasps or combination locks, a pressure equalization valve, wheels and a tow handle, a rack frame or a mounting base? These items drive day-to-day usability more than the shell does.
6Cost the landed total, not the unit price
Include tooling amortization, units per container, sea-freight volume, wear-part spares and after-sales lead time. Raising container utilization by 10% usually beats squeezing 3% off the unit price.